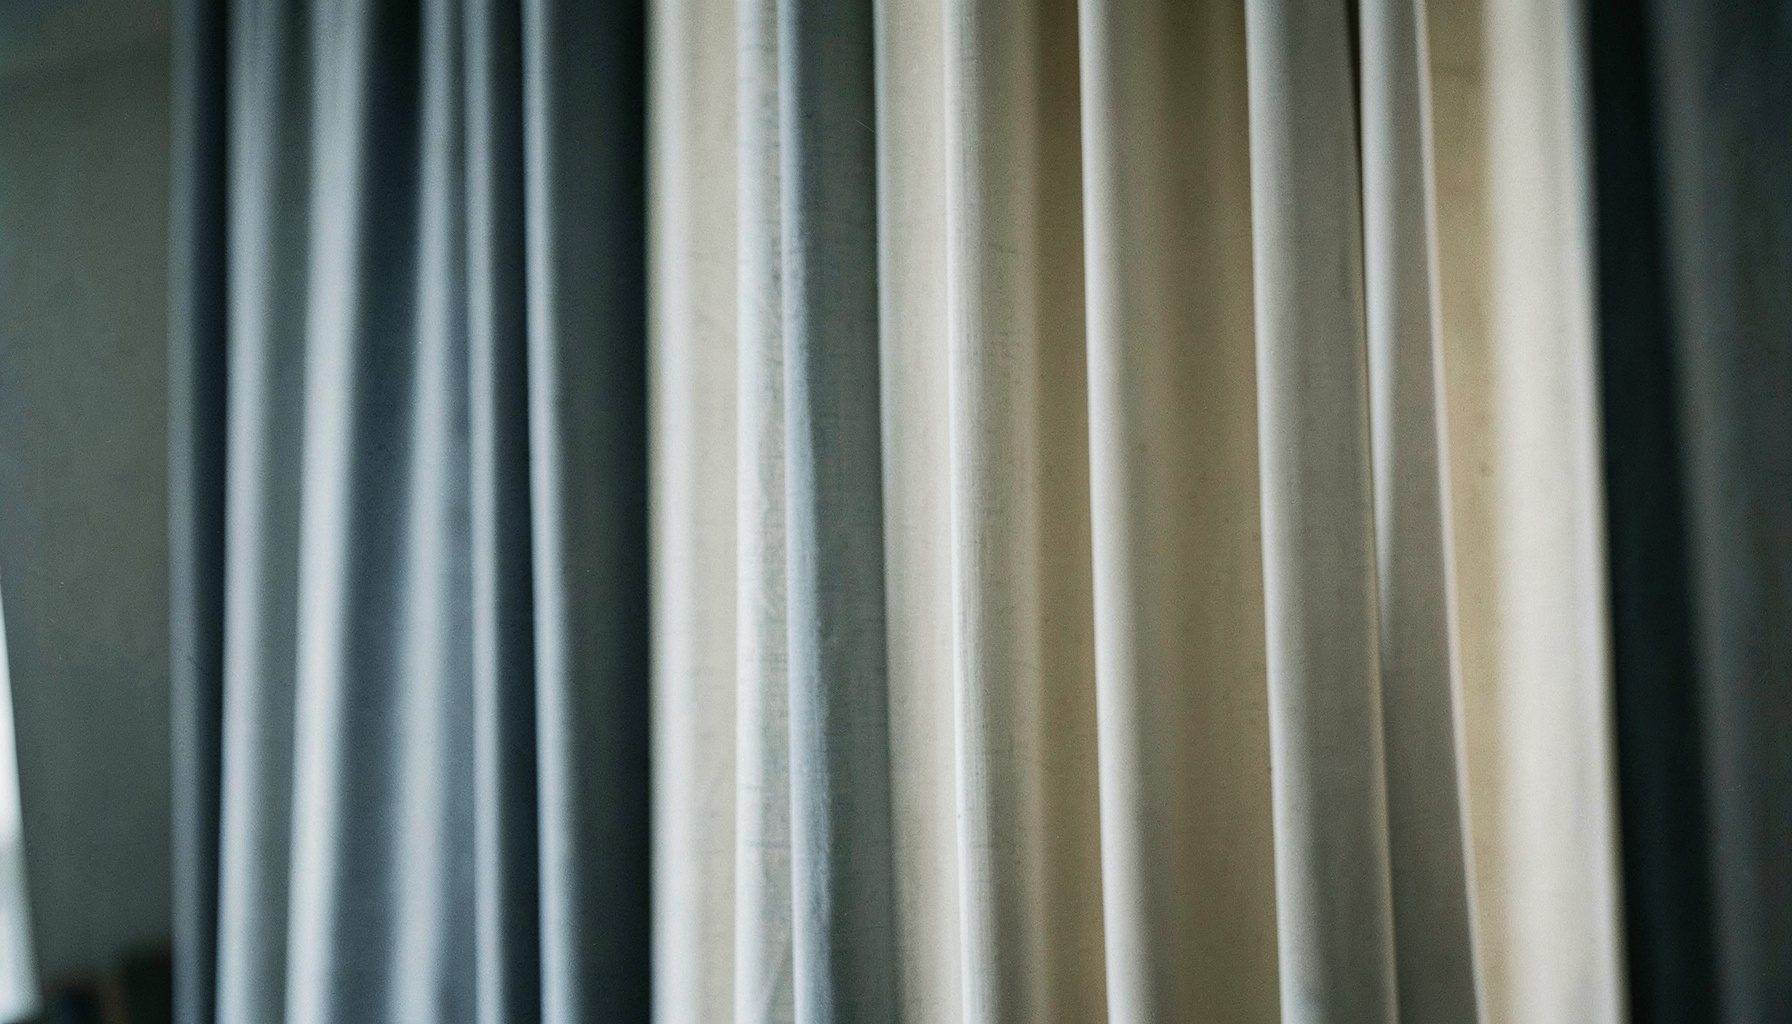
How to repair a pulled thread or snag in curtain fabric
A pulled thread can make a small snag look like a major tear, especially in a smooth or sheer curtain. A quick repair can stop loose fibres from spreading and preserve a panel that would otherwise need replacing. The key is to treat the snag gently and match the repair to the fabric and lining.
Before reaching for scissors, work out whether the thread is merely caught, pulled from the weave, or completely broken. Turn the curtain so the damaged face is against a clean, flat surface. A fine needle, tweezers and matching thread are usually enough, while the care label determines whether more delicate methods are needed.
Inspect the damage before touching it
Take the curtain down if the snag is near the stiffened heading, track or grommet, where tension can pull the weave further. Spread the fabric across a table with the damaged side facing up, and photograph the area before starting. Do not tug a protruding loop, because it may be the only thread still anchoring several others.
Check the care label and identify whether the curtain is cotton, linen, polyester, velvet, sheer or lined. Blackout and interlined panels may contain several layers, each with a different repair requirement. Local conditions matter too: strong UV in Brisbane weakens polyester and fades dyes, humid Sydney air can encourage mildew on damp cotton, dry Perth dust can abrade loose fibres, and changeable Melbourne light can hide the extent of a snag.
Release the snag without widening it
Never cut the snag off as a first step. A cutting error can leave an open gap that is harder to mend than the original pulled thread. Instead, hold the panel steady and use a fine needle to tease the loop away from neighbouring yarns, working from the loose end towards the intact weave without stretching the fabric.
With the curtain still flat, push the needle under one or two intact threads and bring the snag back into line with the surrounding pattern. A needle-eye stitch can catch the loop gently if your fingers are too blunt for the task, but avoid forcing the metal through a dense pile. Approach velvet from its reverse side and brush the pile back into place with a soft cloth.
Mend small breaks and pulled threads
For a pulled thread that remains attached, secure the loose end with your fingertip and use a needle to guide it back through the original path in the weave. Make several tiny anchoring stitches on the wrong side, using a thread that matches both the colour and fibre weight. Bury the knots separately within a seam or lining so they do not create a hard bead on the visible face. When matching the repair to a coordinated country-style room, browsing country decor ideas can help you identify the intended fabric and look before choosing a repair thread.
If the thread has snapped cleanly, work a small ladder stitch across the gap and bring the remaining ends into the pattern. Sheer voile and organza need especially light synthetic thread because cotton can look heavy and may cut through the open weave. Test any adhesive or iron-on product on a hidden corner first; heat and solvent can damage coatings on blackout cloth or melt its foam backing.
Repair holes, torn edges, and grommet damage
For a small hole, place a patch of similar cloth behind the damaged area and anchor it with tiny stitches, keeping the patch edges inside a seam whenever possible. Trim only strands that are truly frayed, then weave the surviving edge threads back into the surrounding fabric. On a lined curtain, repair the face and backing separately rather than stitching through every layer and creating stiff ridges that show as diagonal marks.
If the snag surrounds a metal eyelet or grommet, check whether the ring is still firmly seated before touching the fabric. A loose grommet can be reset or replaced, while a split in the cloth needs a reinforced patch. This grommet curtain guide explains how grommet styles are built and where they work best, helping you judge whether the damage belongs to the heading or the curtain body.
Prevent another snag and know when to get help
Routine care reduces repeat damage. Vacuum curtains gently with a soft brush attachment, remove salt and dust before they settle into a snag, and wash only when the care label permits. Many Australian homes have large glazing and strong summer sun, so rotate panels occasionally and consider UV-filtering film or a sheer layer rather than leaving the same spot exposed year after year.
For a valuable, antique or unfamiliar fabric, stop when the repair looks more obvious than the snag. Australian buyers ordering custom curtains online often rely on samples and accurate centimetre measurements because panels are made to order rather than taken from a standard shelf. Factory Direct Drapes provides made-to-order curtain options along with measuring guidance, samples and installation resources for residential and commercial drapery projects.
Pull the panel down before the loose thread becomes a tear. Keep it flat, take a clear close-up and accurate measurements, then contact Factory Direct Drapes to ask whether repair or replacement is more suitable. If the material is delicate or the damage sits near the heading, give a qualified curtain maker a ring before attempting another stitch.